

Description
What’s in the box
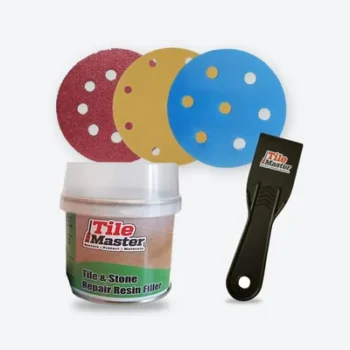
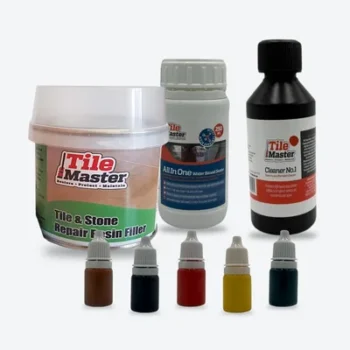
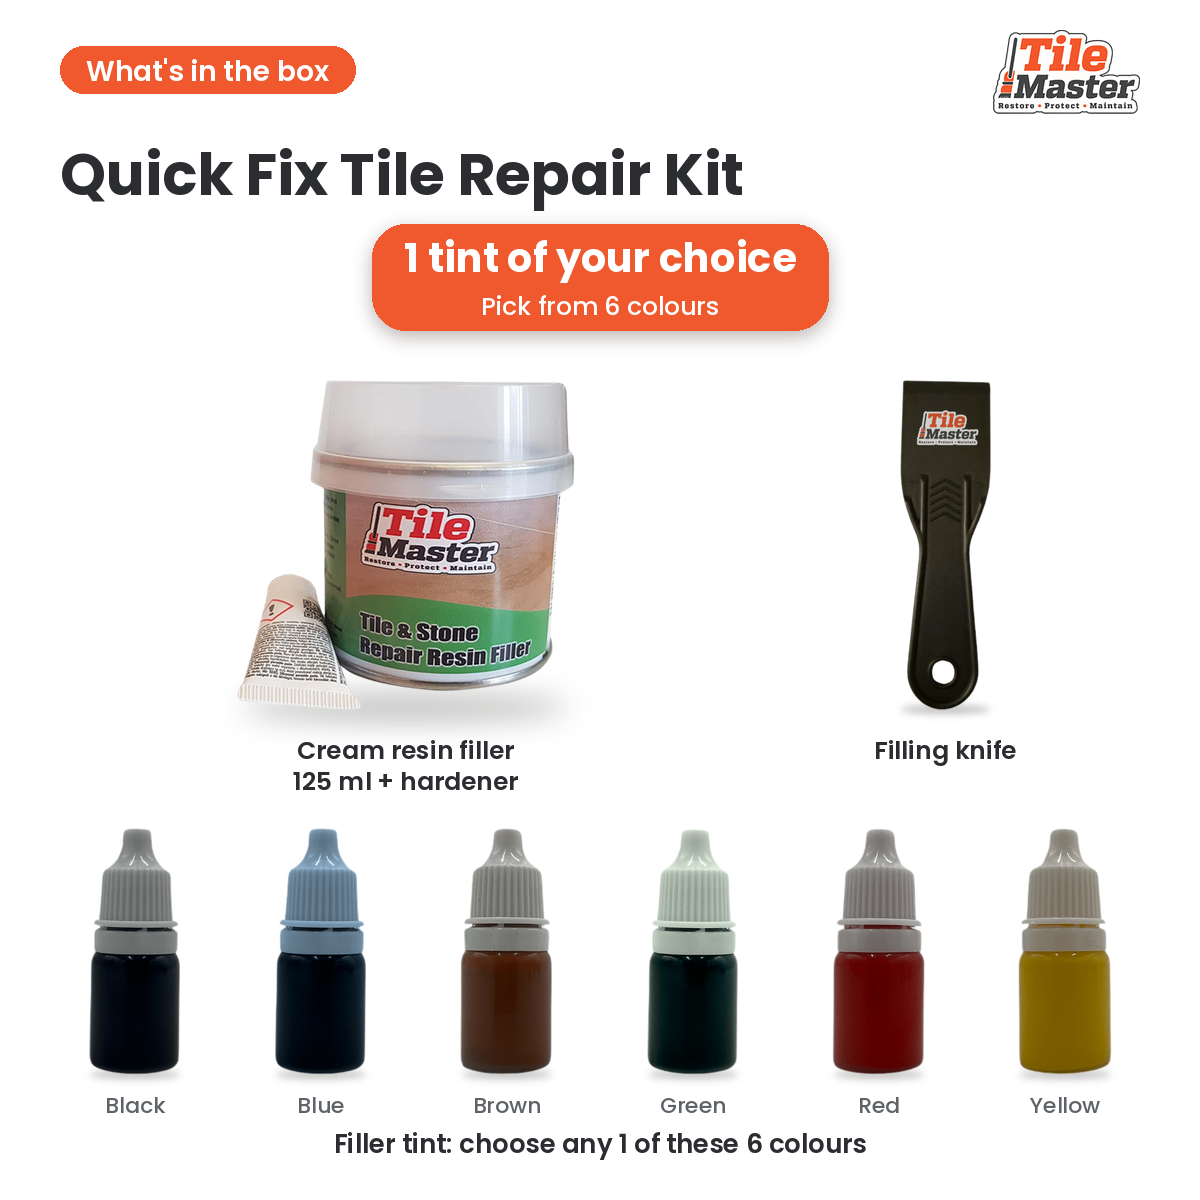
- Tile & Stone Repair Resin Filler 125 ml, with Part B hardener (Cream or White)
- Filler Tint × 1 (choose black, blue, brown, green, red or yellow)
- Precision Filling Knife
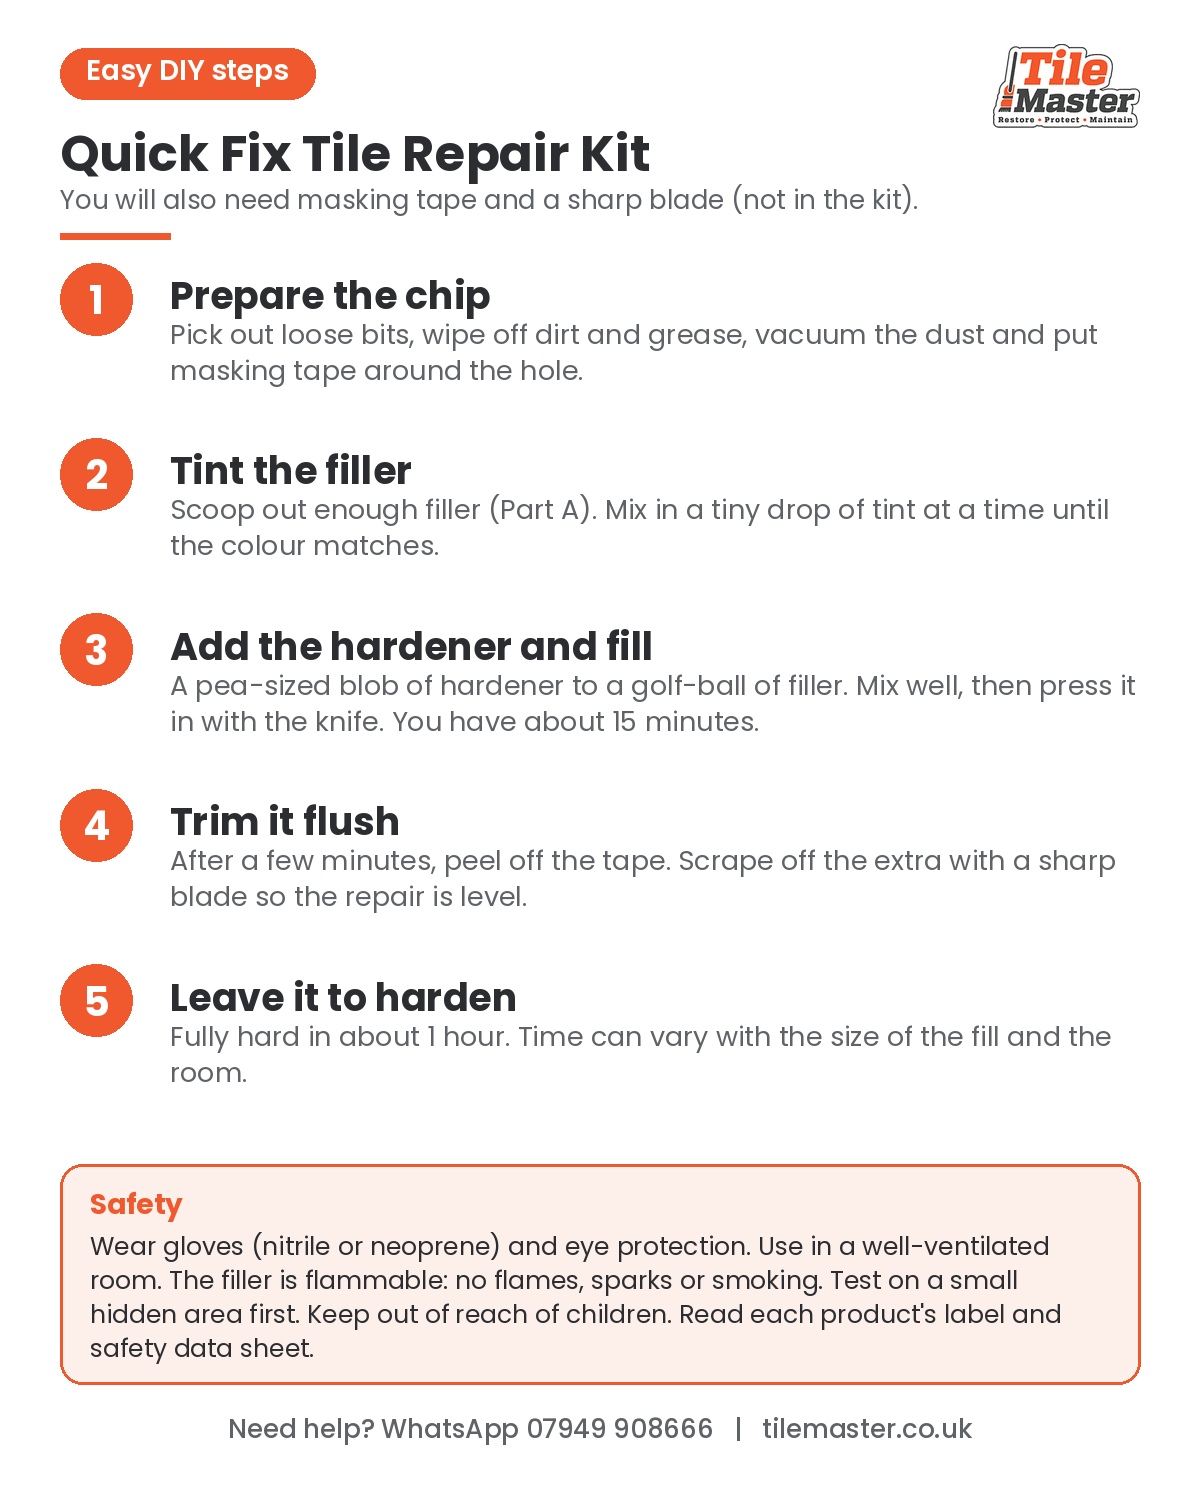
You’ll also need
Masking tape and a sharp blade or razor scraper (not in the kit).
How to use
- Prepare the chip. Pick out loose bits, wipe off dirt and grease, vacuum the dust and put masking tape around the hole.
- Tint the filler. Scoop out enough filler (Part A). Mix in a tiny drop of tint at a time until the colour matches.
- Add the hardener and fill. A pea-sized blob of hardener to a golf-ball of filler. Mix well, then press it in with the knife. You have about 15 minutes.
- Trim it flush. After a few minutes, peel off the tape. Scrape off the extra with a sharp blade so the repair is level.
- Leave it to harden. Fully hard in about 1 hour. Time can vary with the size of the fill and the room.
Need more colours?
See the Tile Repair Kit – Basic Bundle (choice of 3 tints) or the Filler Tint Top-Up Set.
Safety
Wear gloves (nitrile or neoprene) and eye protection. Use in a well-ventilated room. The filler is flammable: no flames, sparks or smoking. Test on a small hidden area first. Keep out of reach of children. Read each product’s label and safety data sheet.
Need help? WhatsApp 07949 908666



What others are saying
There are no contributions yet.