
Description
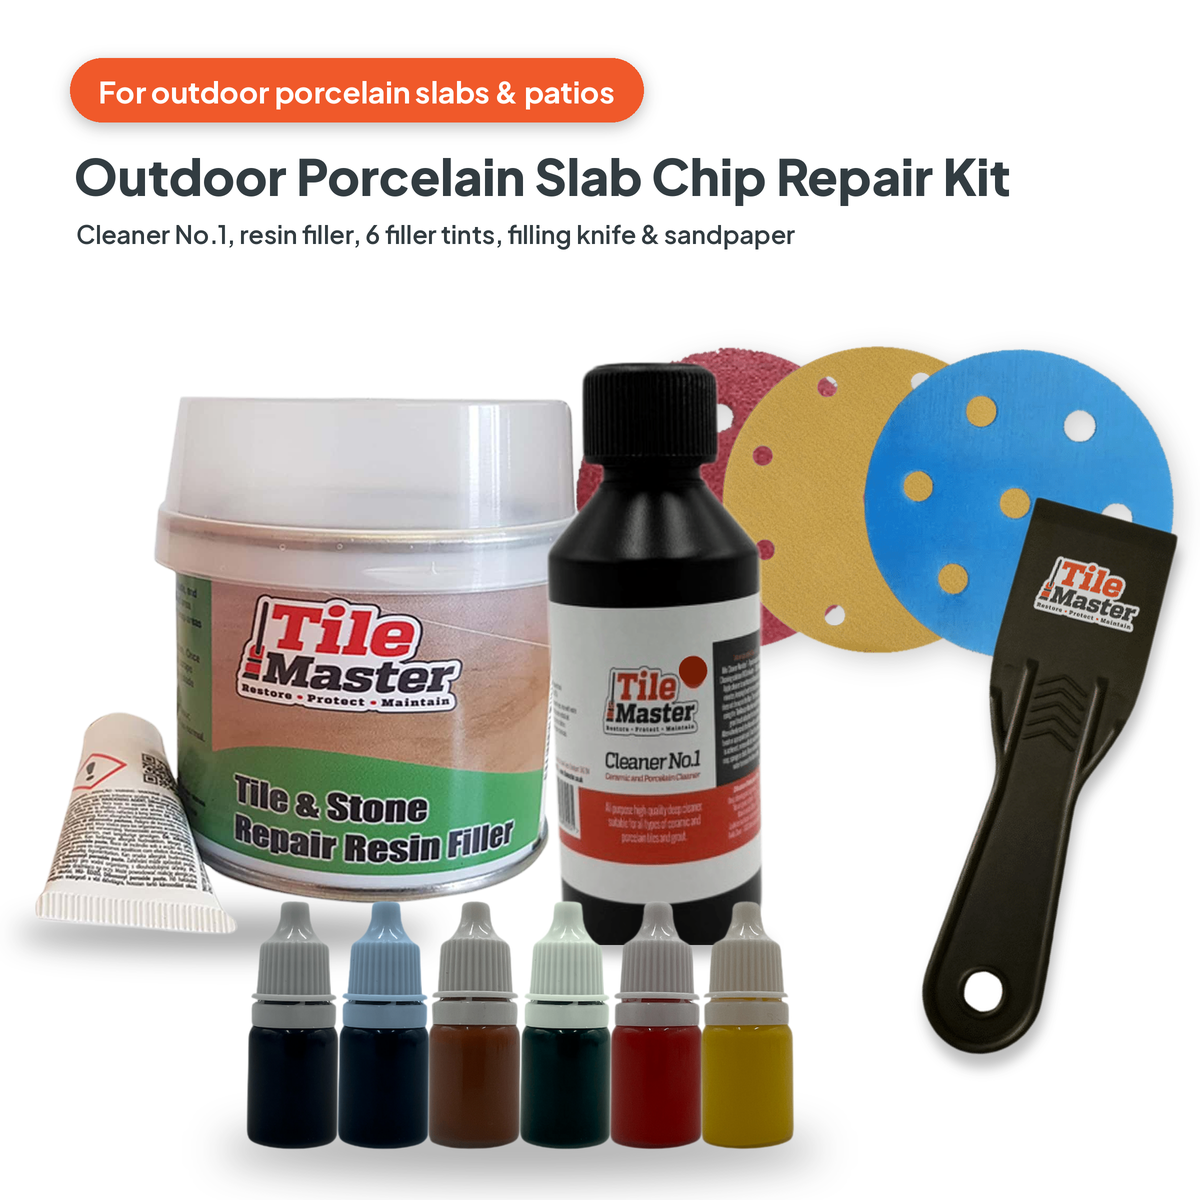
The Outdoor Porcelain Slab Chip Repair Kit puts everything for a neat patio repair in one box. Use it to fill chips and small holes in porcelain paving slabs and outdoor porcelain tiles, colour the filler to match the slab, and finish the repair flush with the surface. It’s ideal for a chipped slab edge or corner, a chip left by a dropped pot or tool, or old fixing holes when you’d rather repair a slab than lift and replace it. Free UK mainland delivery.
Please note: suitable for outdoor porcelain, subject to frost burst in the colder months. Not suitable for areas that are constantly underwater.
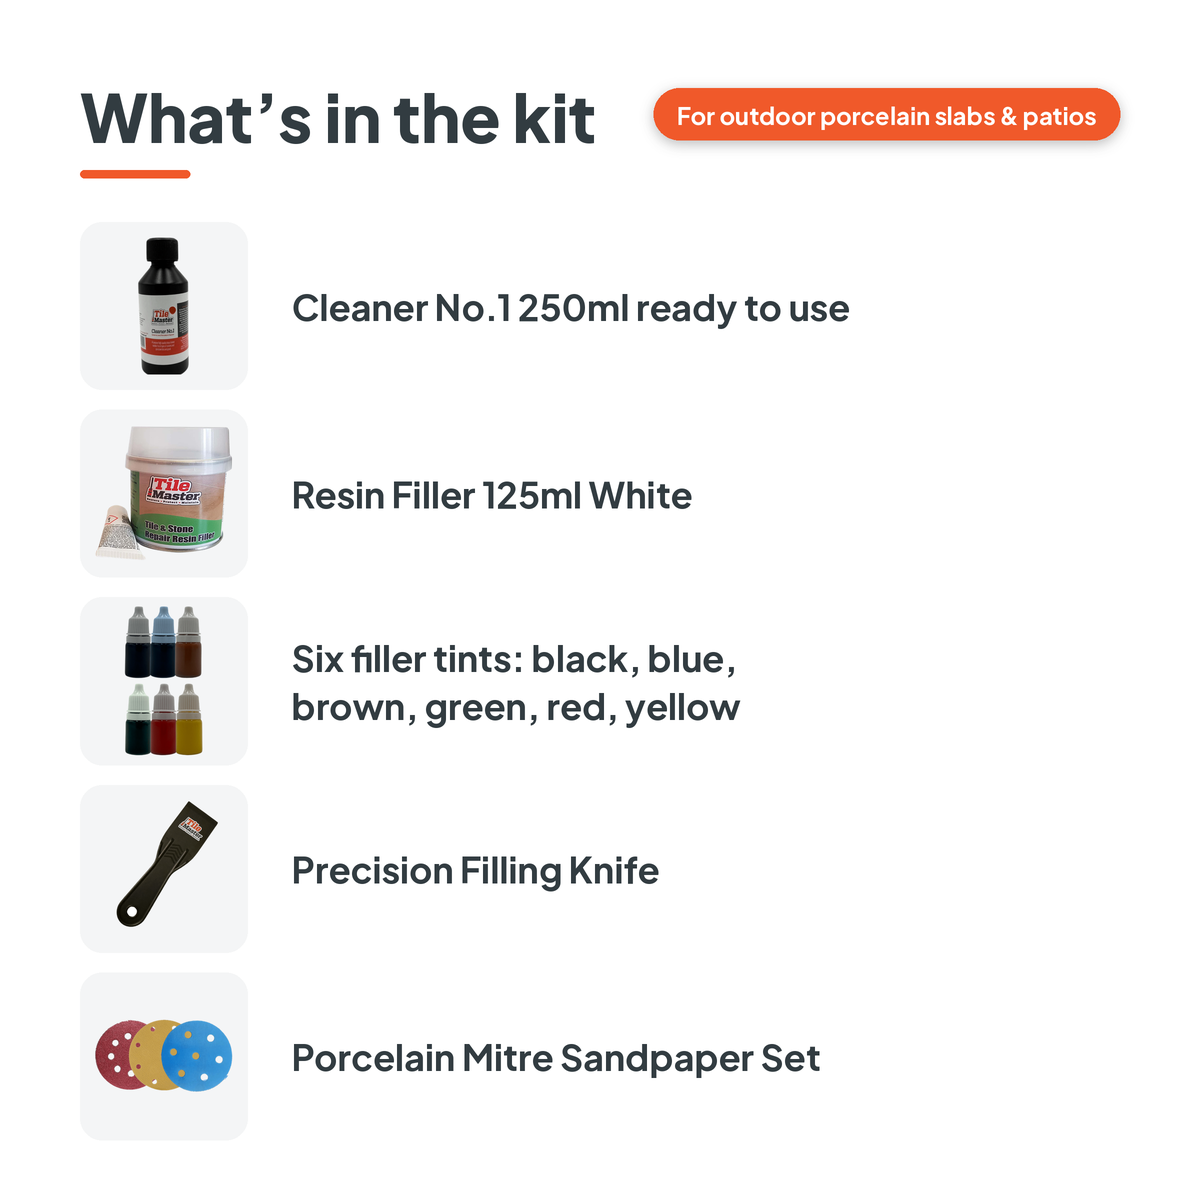
What’s in the kit
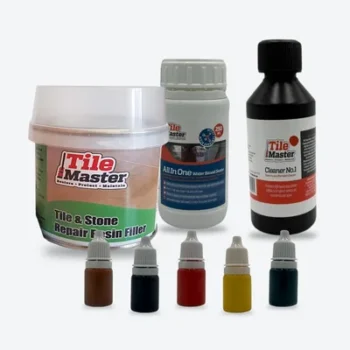
- Ceramic & Porcelain Tile Cleaner No.1, 250 ml, ready to use: for removing dirt and grease from the chip and the slab around it before you fill.
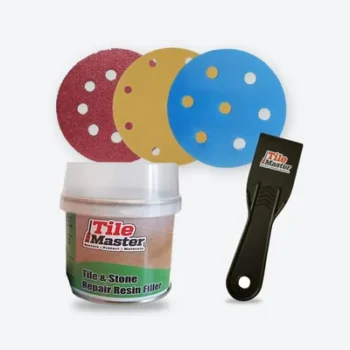
- Tile & Stone Repair Resin Filler with Hardener, 125 ml, White: a two-part resin filler for chips, cracks and holes.
- TileMaster Filler Tints x 6: black, blue, brown, green, red and yellow. Mix them into the white filler to match the colour of your slab.
- Precision Filling Knife: for pressing the filler into the chip and levelling it off.
- Porcelain Mitre Sandpaper Set: coarse, medium and fine, for sanding the cured repair flush with the slab.
Who it suits
Homeowners and landscapers repairing chipped porcelain patio slabs, steps and outdoor porcelain tiles. The cleaner in this kit is for porcelain and ceramic, so it isn’t suitable for natural stone paving such as sandstone, limestone or slate. For indoor ceramic and porcelain tiles, see our Complete Tile Repair Kit.
How to use
- Clean the damage. Brush out loose pieces and grit, then clean the chip and the slab around it with the Cleaner No.1, following the directions on the label. Rinse with clean water.
- Let it dry. Make sure the chip and the slab around it are completely dry before you fill, so the filler can bond.
- Test the colour. Mix a little filler with a small amount of tint on a scrap surface and compare it with the slab. Add tint a little at a time until it matches. Patio slabs often have several shades, so try blending two or three tints.
- Mix with hardener. Mix the coloured filler with the hardener as directed on the product label.
- Fill. Press the filler into the chip with the filling knife, leaving it very slightly proud of the surface.
- Let it cure. Leave it to harden fully, following the times on the label. Curing time can vary with the amount applied and site conditions.
- Sand flush. Sand the repair level with the slab using the sandpaper set, working from coarse to fine.
Always test on a small, inconspicuous area first.
Safety
Always read the product labels and Safety Data Sheets before use, and follow the safety advice on each product page.


What others are saying
There are no contributions yet.