



Description
Porcelain Mitre Edge Kit Pro
The Pro kit is built for tilers and stone technicians who need to match a wide range of porcelain colours and finish the edge properly afterwards. With both cream and white filler bases you can match warm and cool tones, and the three-grade sandpaper set takes the repair from shaping to a smooth, refined edge.
What’s in the kit
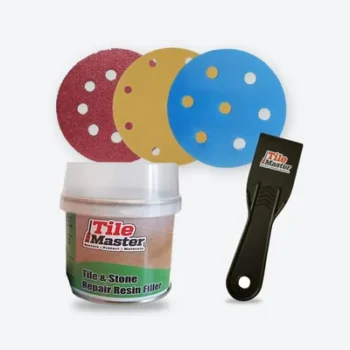
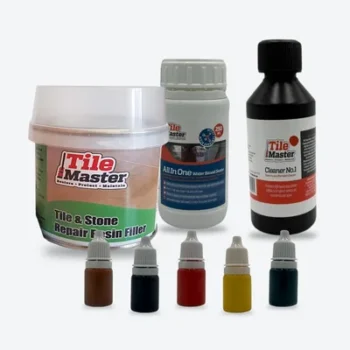
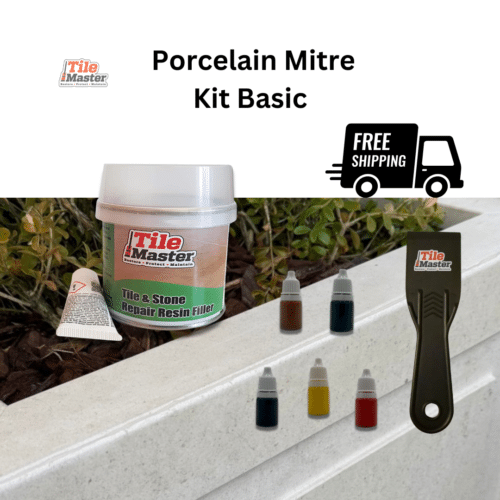
- 1 × Tile and Stone Repair Resin Filler – cream, 250 g (125 ml) with hardener
- 1 × Tile and Stone Repair Resin Filler – white, 250 g (125 ml) with hardener
- 6 × TileMaster Filler Tints – brown, yellow, black, red, green and blue
- 1 × Precision Filling Knife (plastic)
- 1 × Porcelain Mitre Sandpaper Set – coarse, medium and fine grades
Why go Pro?
- Two base colours – blend cream and white, or tint either, for better matches across more tiles.
- Finish the edge – use coarse grit to shape, medium to refine and fine for a smooth finish.
- Repairs more edges – two tins of filler instead of one.
Ideal for
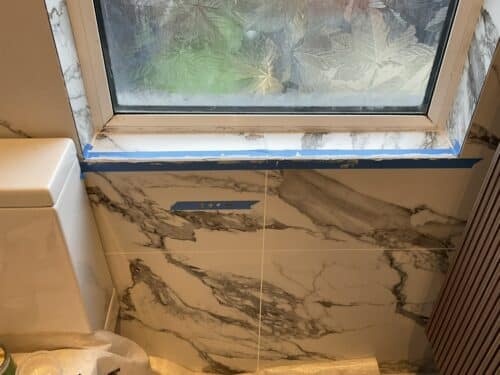
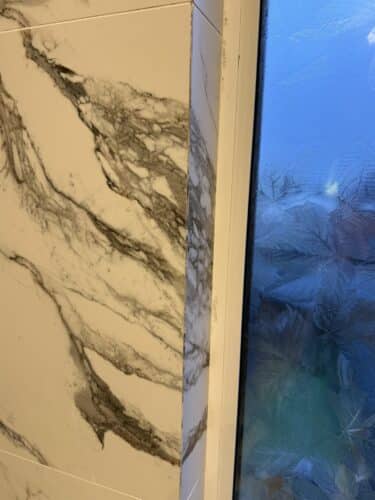
- Porcelain mitre edges and mitred external corners
- Large format porcelain tiles and porcelain worktops
- Porcelain steps and stair edges
Pro vs Basic
| Basic | Pro | |
|---|---|---|
| Resin filler | 1 tin – cream or white | 2 tins – cream and white |
| Colour tints (incl. blue) | 6 | 6 |
| Plastic Precision Filling Knife | ✓ | ✓ |
| Sandpaper Set (coarse, medium, fine) | – | ✓ |
How to use
- Clean the damaged edge, removing loose and chipped material, then vacuum.
- Mask around the repair.
- Pick the cream or white base and mix in tint a little at a time until it matches.
- Add the hardener (about 3%) and mix – you have about 15 minutes to work.
- Press the filler into the chip with the plastic filling knife, working it in to avoid air gaps. Deep repairs may need more than one application.
- Remove the tape as the filler begins to firm up.
- Once fully cured, shape and level the repair with the coarse sandpaper, then refine with medium and finish with fine. Curing time varies with the amount applied and site conditions.
Safety
The resin filler contains styrene. It is a flammable liquid and vapour, causes skin irritation and serious eye irritation, is suspected of damaging the unborn child and causes damage to organs through prolonged or repeated exposure. Keep away from heat, sparks and open flames – no smoking. Wear protective gloves (nitrile or neoprene) and eye protection, use in a well-ventilated area and keep out of reach of children. Please read the Safety Data Sheet before use.
Developed and manufactured in the UK.
Frequently asked questions
What does the Pro kit include that the Basic doesn’t?
A second tin of filler (you get both cream and white) and the Porcelain Mitre Sandpaper Set with coarse, medium and fine grades.
Why would I need both cream and white filler?
Porcelain comes in warm and cool tones. Having both bases – and being able to blend them – makes it easier to get a close match before you add tints.
How do I use the sandpapers?
Once the repair has fully hardened, start with the coarse grit to shape and level, move to medium to refine, and finish with fine for a smooth edge.
Is this kit suitable for DIY use?
It’s designed for professional tilers and fabricators, but the method is the same as our other kits. If you’re repairing a chipped floor or wall tile at home, the Basic or Clean & Repair bundles are usually enough.







What others are saying
There are no contributions yet.