





Description
Porcelain Tile Repair Kit – Basic Bundle
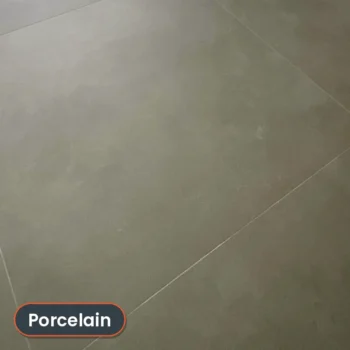
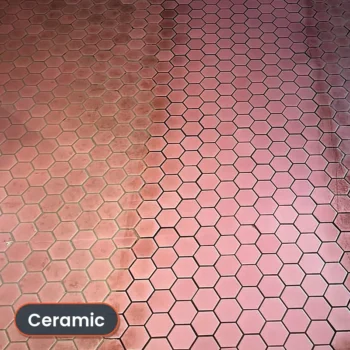
The Basic Bundle is the simplest way to repair small chips, cracks and screw holes in porcelain and ceramic tiles. It contains just the repair materials – filler, hardener and tints – so it suits anyone who already has a filling knife and a cleaner, or who only has one or two repairs to make.
The filler is a polyester resin mastic. Once hard, it can be polished in line with the existing shine on your tiles, and the tints let you mix a colour that matches your tile rather than leaving a bright white patch.
What’s in the box
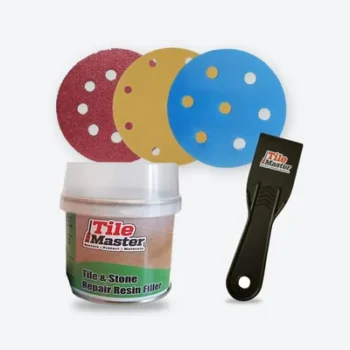
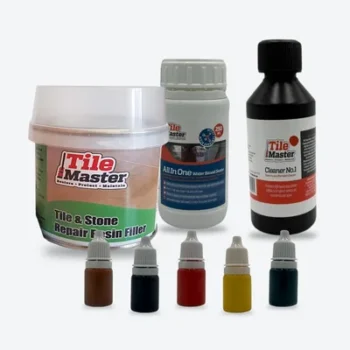
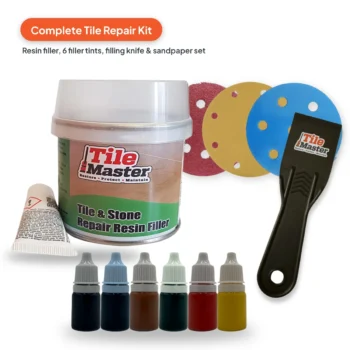
- 1 × Tile and Stone Repair Resin Filler – white, 250 g (125 ml) tin, supplied in two parts: Part A filler and Part B white hardener
- 5 × TileMaster Filler Tints – brown, yellow, black, red and green
Filling knife and cleaner are not included.
Who it’s for
- Homeowners fixing a chipped floor tile, a cracked wall tile or holes left after removing fixtures
- Tilers who want a spare filler-and-tint set in the van
- Kitchens, bathrooms and showers, indoors and outdoors
Which kit should I choose?
- Basic Bundle – filler, hardener and 5 tints.
- Clean & Repair Bundle – everything in the Basic Bundle plus Ceramic & Porcelain Tile Cleaner No.1 (250 ml) and a Precision Filling Knife.
- Clean, Repair & Seal Bundle – filler, tints, Cleaner No.1 and a 250 ml All in One water-based sealer.
- Repairing mitred edges? Choose a Porcelain Mitre Edge Kit.
How to use
- Clean the damage. Remove any loose debris, dirt and grease from the chip, crack or hole, then vacuum away the dust.
- Mask around it. Apply good-quality masking tape around the repair so excess filler stays off the tile.
- Tint the filler (optional). Take enough filler (Part A) for the repair and mix in a tiny amount of tint at a time until the colour matches your tile.
- Add the hardener. Add hardener (Part B) at about 3% – roughly a pea-sized amount of hardener to a golf-ball-sized amount of filler – and mix thoroughly. You then have about 15 minutes before the mix becomes unworkable.
- Fill and level. Press the filler firmly into the damage and level it with the masking tape. Very deep areas may need a two-stage application.
- Trim flush. After a few minutes, once the filler has started to harden, remove the tape and scrape off the excess with a clean, sharp blade so the repair sits flush with the tile.
- Leave to harden. Once the filler is completely hard (about 1 hour), a floor can be walked on and used as normal. Curing time can vary with the amount applied and site conditions.
Safety
The resin filler contains styrene. It is a flammable liquid and vapour, causes skin irritation and serious eye irritation, is suspected of damaging the unborn child and causes damage to organs through prolonged or repeated exposure. Keep away from heat, sparks and open flames – no smoking. Wear protective gloves (nitrile or neoprene) and eye protection, use in a well-ventilated area and keep out of reach of children. Please read the Safety Data Sheet before use.
Browse all our tile repair kits.
Frequently asked questions
What does the Basic Bundle include?
A white Tile and Stone Repair Resin Filler (250 g / 125 ml tin with Part A filler and Part B hardener) and five filler tints: brown, yellow, black, red and green. A filling knife and cleaner are not included.
Can I use it on ceramic tiles as well as porcelain?
Yes. The kit is designed for porcelain and ceramic tiles, and the filler can also be used on natural stone such as marble, limestone and travertine.
How do I match the colour of my tile?
Start with the white filler and add a tiny amount of tint at a time, mixing well, until the shade matches. Adding brown tint to white filler gives a range of cream shades.
How long do I have to work with the filler?
Once the hardener is mixed in you have about 15 minutes before it becomes unworkable, so only mix as much as you need for each repair.
Is the filler safe to use at home?
Yes, if you follow the safety advice: it is flammable and contains styrene, so wear gloves and eye protection, keep it away from flames and work in a well-ventilated room. Read the Safety Data Sheet first.






What others are saying
There are no contributions yet.